
WooCommerce Integration with Qikink
Connect your WooCommerce store and start selling products using Qikink's Print-on-Demand Service.
Explore the best Print-on-Demand & Dropshipping plugin for WooCommerce and take your fashion eCommerce brand to the next level.

Why Choose WooCommerce?
WooCommerce offers powerful features that help you build a customizable, scalable, and cost-effective online store. Discover why thousands of sellers choose WooCommerce for their eCommerce needs.
Customization
You can choose from thousands of plugins and themes to design your eCommerce store exactly how you want it.
Content Management
WordPress’s advanced content management features to create blogs, landing pages, enhancing your site’s SEO.
SEO-Friendly
WordPress is known for its strong SEO features. It helps your products and content to rank higher on search engines.
Cost-Effective
WooCommerce is free to use, and you only pay for hosting. This can be more affordable than paying monthly & transaction fees.
Watch How to Connect WooCommerce Store with Qikink!

How to Integrate WooCommerce with Qikink?
Follow our step-by-step integration guide to seamlessly connect your WooCommerce store with Qikink. Get started in minutes and start selling custom print-on-demand products.
Sign Up for a Qikink Account
If you haven't already, go to the Qikink website and sign up for an account.
Log in to WordPress
Log in to your WordPress dashboard and navigate to "Plugins" > "Add New."
Install Qikink Print on Demand & Dropshipping Plugin
Search for the Qikink plugin in the search bar and click on the "Install Now" & "Activate" button.
Access Qikink Plugin Settings
Go to the "Qikink" plugins in WordPress and click on "Settings" to access it's settings page.
Enter Your Qikink Account Email
On the Qikink plugin settings page, locate the field where you need to enter your Qikink account email address.
Connect to Your Qikink Account
Enter your OTP sent to your mail for authentication and click "Submit".
Authorize WooCommerce (if applicable)
Approve the authorization request in the new tab or window to connect Qikink with WooCommerce.
Confirmation Message
Once your WordPress site is successfully connected to Qikink, you'll see a confirmation message showing the connection is complete.
Please Note:
If you are facing any error while the integration process or while products are pushed or if you are not seeing your orders not pulled by Qikink then ensure that the below points are verified:
Print On Demand WooCommerce Integration

Why do sellers prefer WooCommerce?
Sellers can modify every aspect of their store to match their brand identity, from the layout to specific functionalities.
A wide range of extensions and add-ons are available for product filters to sophisticated inventory management systems.
WooCommerce helps print on demand brands to build a robust, scalable, and unique online store to their specific needs and preferences.
WooCommerce Dropshipping Tutorial for Beginners
Learn how to set up and manage your WooCommerce store with Qikink's print-on-demand services.

How to upload designs & place a sample order?

How to create & push products to your WooCommerce store?

How to fulfil WooCommerce orders with Qikink?

Qikink dashboard & WooCommerce settings - Setup guide

Master your branding options with Qikink

All Over Printing - Step by step process guide

Ready to Sell Online?
Start Selling On WooCommerce with Qikink
How Does Selling On WooCommerce Work?
Install WooCommerce on WordPress, choose a theme, and configure your store settings.
Install the Qikink plugin and connect it to your WooCommerce store.
Select and customize products using Qikink, then add them to your WooCommerce store.
Qikink handles custom printing, packing, and shipping out to your products automatically when orders are placed.

Best Selling Products On WooCommerce
Discover the most popular and high-demand products that sell best on WooCommerce stores. From custom apparel to home decor, find products that resonate with your target audience and drive sales.
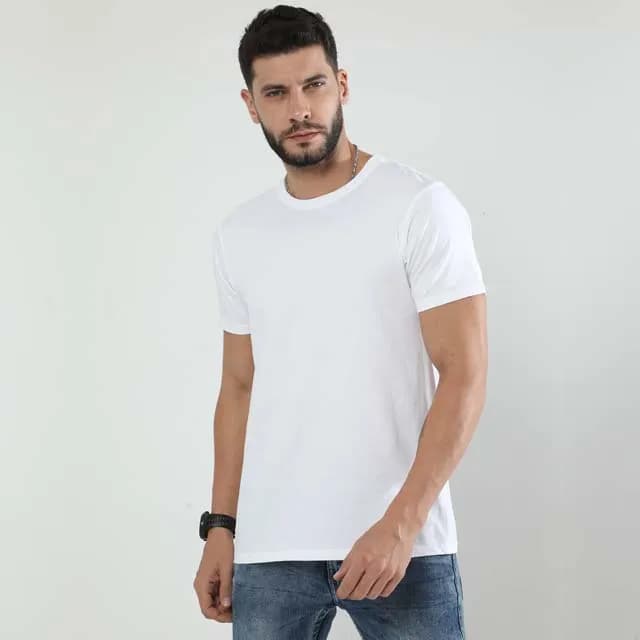
T-Shirts
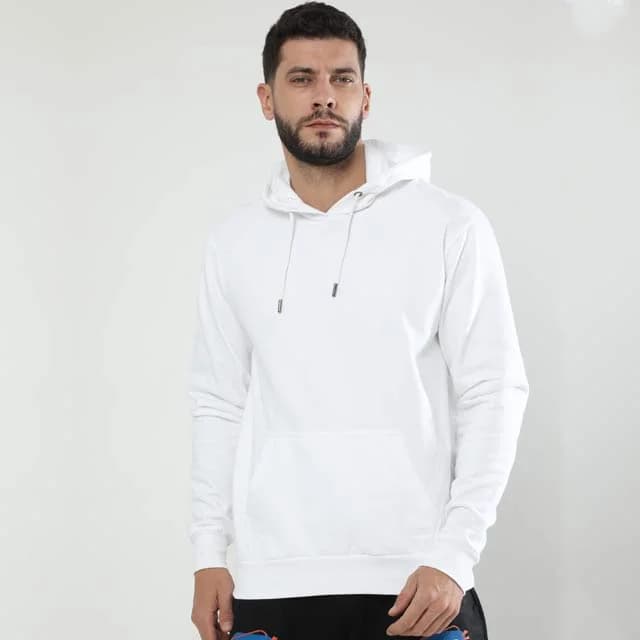
Hoodies & Jackets

AOP Apparel
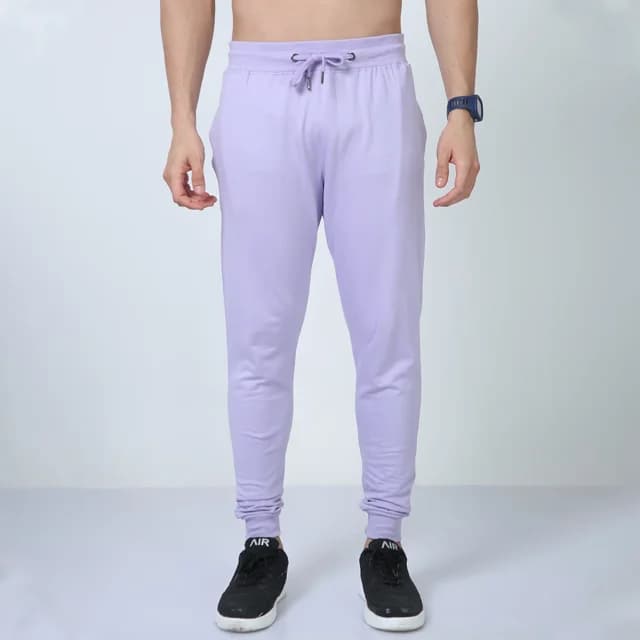
Bottomwear
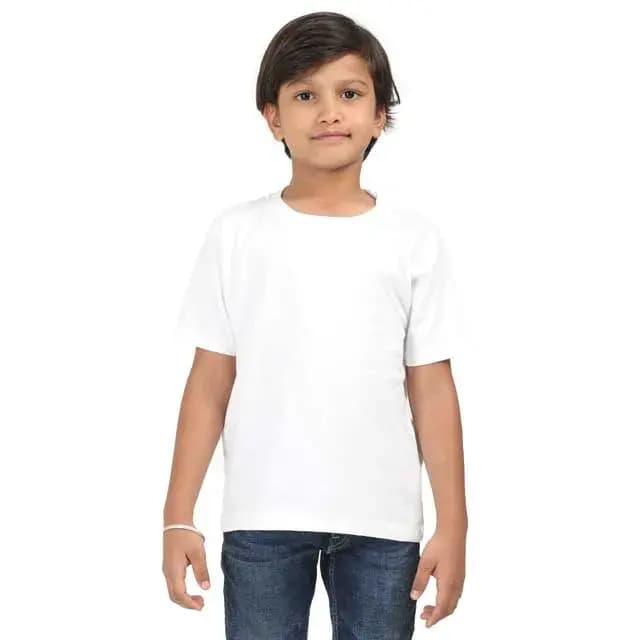
Kids Clothing
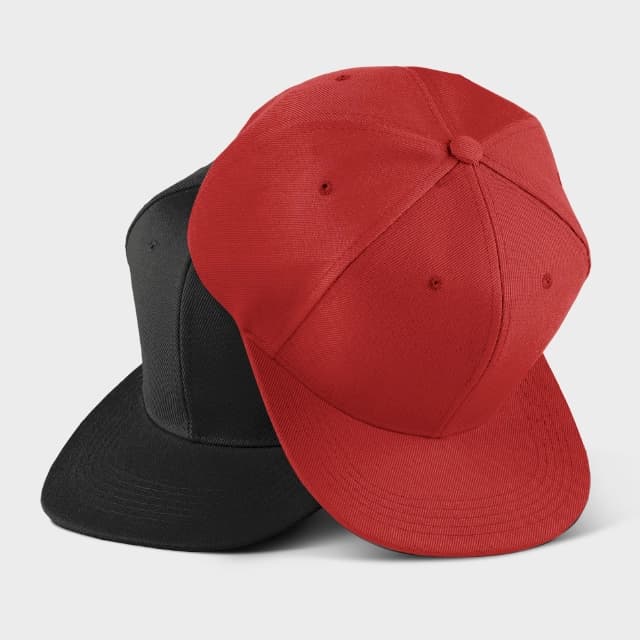
Headwear
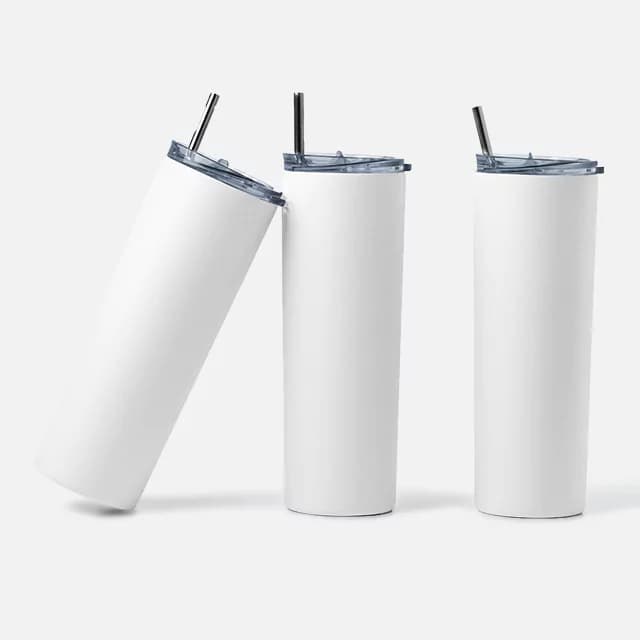
Drinkware
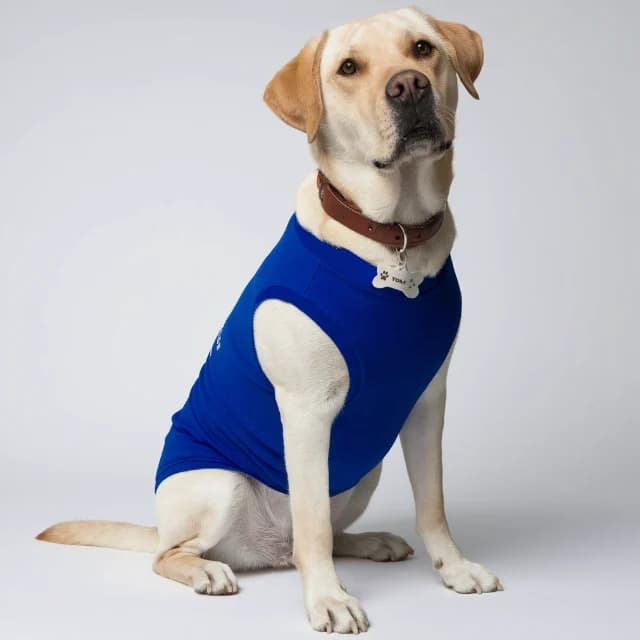
Pet Products
WooCommerce Dropshipping India - Blogs
Explore our comprehensive guides, tutorials, and insights on WooCommerce dropshipping, print-on-demand, and building successful online stores in India.