How to Integrate Qikink Print On Demand with WordPress
1. Sign Up for a Qikink Account:
If you haven’t already, go to the Qikink website and sign up for an account.
2. Install the "Qikink Print On Demand And DropShipping" Plugin
Log in to your WordPress dashboard.
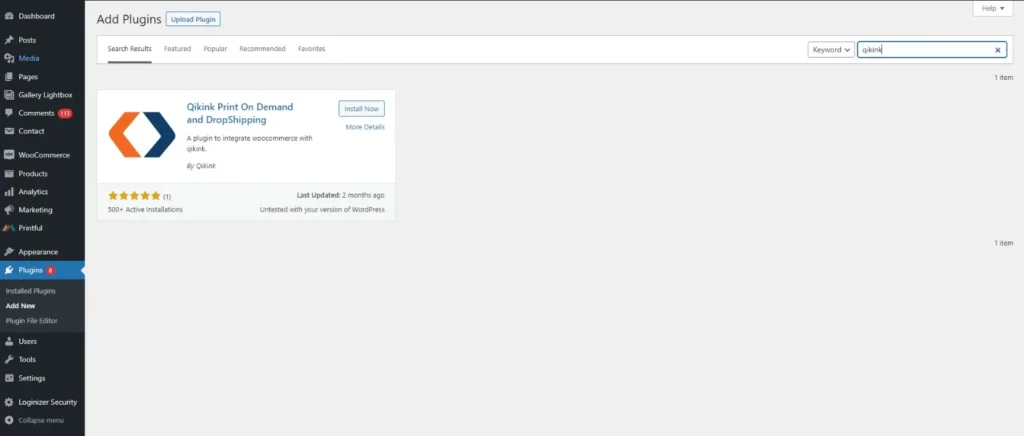
Navigate to “Plugins” > “Add New.”
In the search bar, type “Qikink Print On Demand And DropShipping.”
When the plugin appears in the search results, click the “Install Now” button.
3. Activate the Plugin
After installation, click the “Activate” button to activate the Qikink plugin.
4. Access Qikink Plugin Settings
In your WordPress dashboard, find the “Qikink” plugin in the list of installed plugins.
Click on “Settings” under the Qikink plugin to access its settings page.
5. Enter Your Qikink Account Email
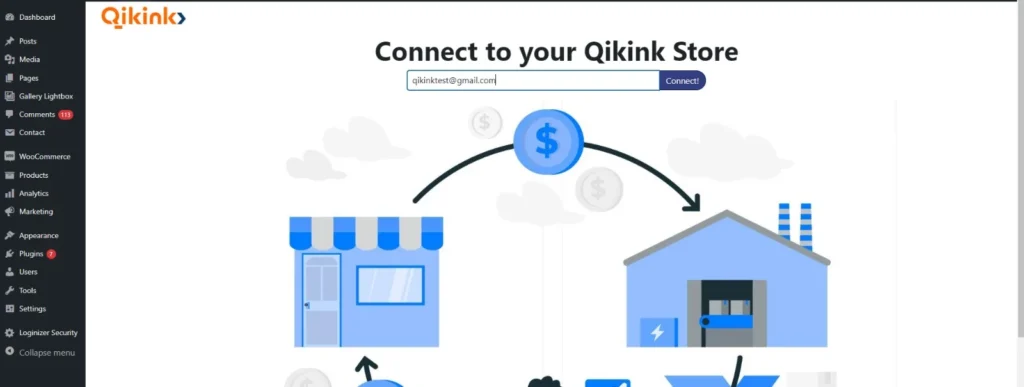
On the Qikink plugin settings page, locate the field where you need to enter your Qikink account email address.
6. Connect to Your Qikink Account
You may be prompted to enter an OTP (One-Time Password) sent to your email for authentication. After entering your email and OTP, click the “Submit” button.
After entering your email, look for an option to “Connect”. Click on it.
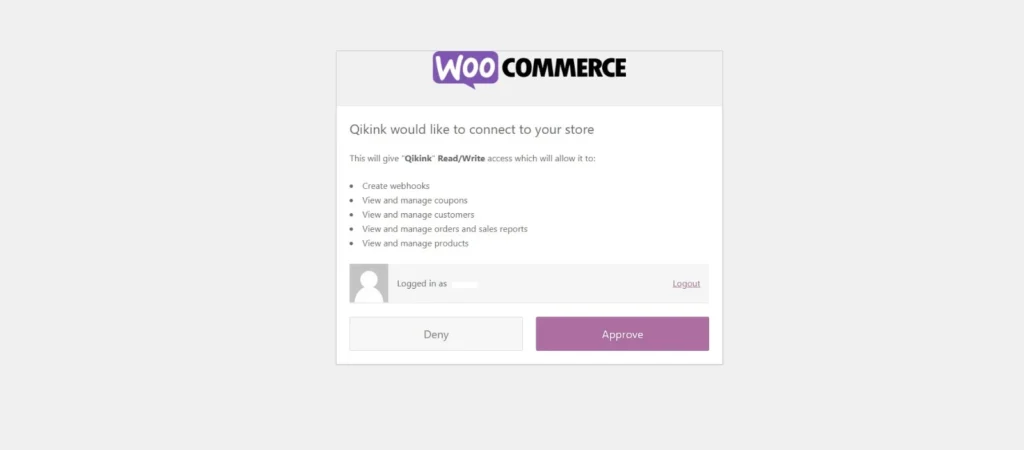
7. Authorize WooCommerce (if applicable)
As part of the integration process, a new tab or window will open, and it will ask for authorization to share client key and client secret with Qikink
Approve this request to allow integration between Qikink and WooCommerce.
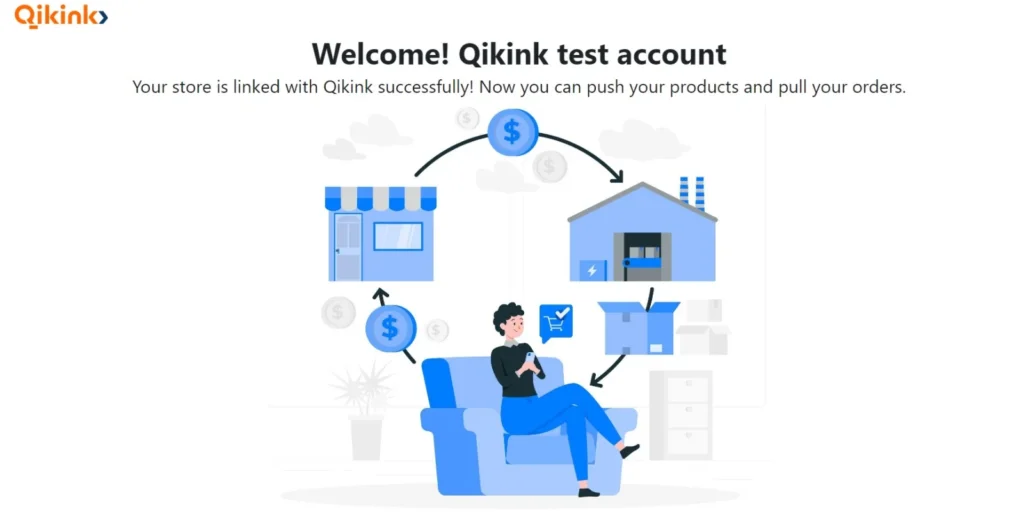
8. Confirmation Message:
After successfully connecting your WordPress site to Qikink, you should see a confirmation message indicating that your website is now connected.
Please Note: If you are facing any error while the integration process or while products are pushed or if you are not seeing your orders not pulled by Qikink then ensure that the below points are verified:
1. SSL Check:
Your website should have an SSL certificate installed to ensure secure communication between your website and visitors. To check if your website has SSL, look at the URL in the address bar of your web browser. If the URL starts with “https://” instead of “http://”, then your website has SSL. The “s” in “https” stands for secure, indicating that SSL is active.
2. Qikink API Permissions Check:
To check whether Qikink API has read/write permissions for WooCommerce, follow these steps:
2.1. Go to your WordPress admin dashboard. 2.2. Navigate to WooCommerce > Settings. 2.3. Click on the “Advanced” tab. 2.4. Scroll down to find the “REST API” section. 2.5. Under the “REST API” section, you should see options related to permissions and keys.
Ensure that the Qikink API has been set up with appropriate read and write permissions as needed for your integration with Qikink services.
3. Permalink Setting Check:
To set your website’s permalink structure to “Postname,” follow these steps:
3.1. Go to your WordPress admin dashboard. 3.2. Navigate to Settings > Permalinks. 3.3. Under “Common Settings,” select the “Post name” option. 3.4. Click the “Save Changes” button to save your permalink settings. 3.5. After following these steps, your website’s permalink structure will be set to “Postname,”.
Start your print on demand & dropshipping business