

To create T-shirt designs that sell, start with the people who will wear them and why they might choose your shirt. Choose one clear idea, make the lettering readable and the illustration easy to understand, then prepare the artwork for the shirt’s print area. A design can look good on screen but lose its impact on fabric, so size, placement and colour matter too.
A small chest print may suit a regular-fit tee, while an oversized shirt may work better with a larger back graphic. The right choice depends on the garment and the wearer. A college club might prefer a shared symbol, while a personalised gift could carry a name, date or illustration with a particular meaning.
You can sketch on paper or create artwork digitally, with or without AI. Before selling, check a printed sample, calculate your costs, and prepare an accurate product listing, whether this is your first design or part of your own clothing brand.
Key Takeaways
- Know who will wear it: Think about the person, the occasion and why the design matters to them.
- Make one simple first draft: A short phrase, one illustration or both is enough to begin. You can improve it later.
- Create it your way: Draw by hand or use an editor. AI can help with ideas, but check the artwork and your right to use it before selling.
- Prepare artwork for fabric: Match the design to the print area, garment colour, resolution and printing method.
- Finish the selling basics: Check a physical sample, gather relevant feedback, calculate your costs and create an accurate product listing.
How to Create T-Shirt Designs That Sell: Step by Step
Learning how to make T-shirt designs is easier when you work on one part at a time. Start with a blank shirt, make the artwork, check the printed result and finish with a product ready to list.
1. Choose the T-Shirt and Who It’s For
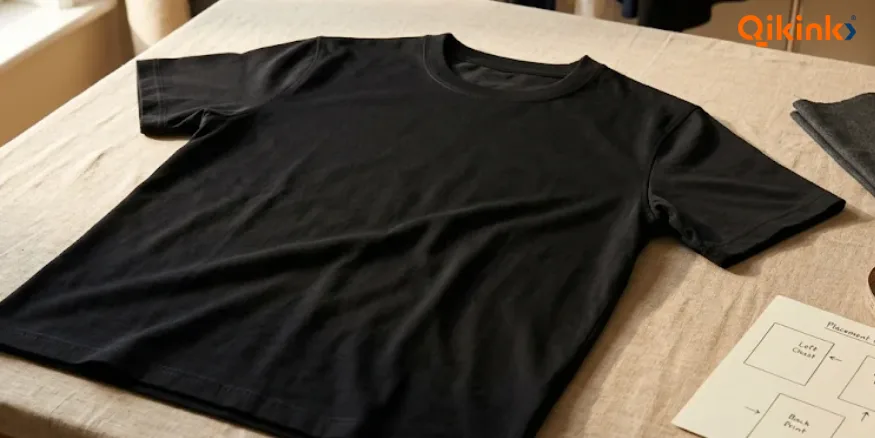
Start with the T-shirt you want to print on. Decide whether you want a regular-fit or oversized style, choose its colour and select where you want the artwork printed. A print position is where the design goes, such as the left chest, centre front or back.
Regular fit follows the body more closely, while oversized is looser and often longer. You can explore different types of T-shirts before picking one. Choosing the garment first makes it easier to judge which design size, and style will look right on it.
Example: Imagine a college photography club wants a T-shirt that members can wear on ordinary days, not only at a fest. Start with a black regular-fit tee and a small left-chest print.
2. Choose an Idea People Would Want to Wear
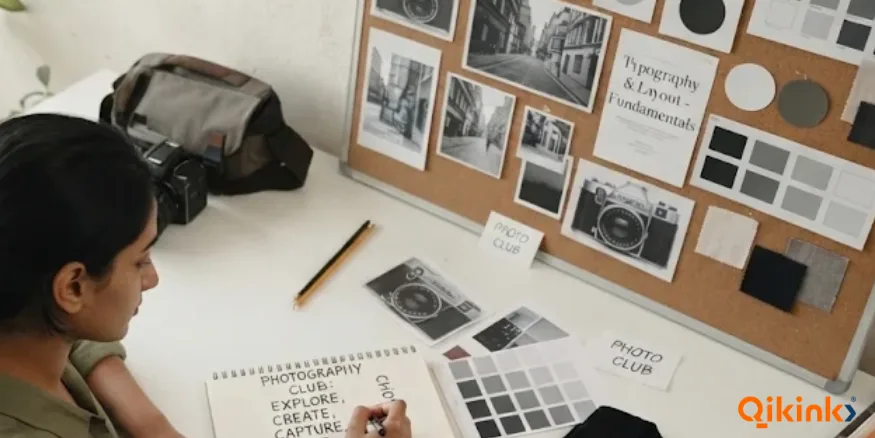
Think about what would make someone choose this shirt over a plain one. It might be a shared memory, an original drawing, a phrase that feels personal or a club symbol. Starting with something meaningful gives you a better direction than adding decoration at random.
Do two things before you start drawing:
- Decide the message: Choose a message, interest or shared experience that matters to the people wearing it.
- Test the appeal: Ask a few people from that group which idea they would wear and why, rather than asking only whether it looks nice.
For the photography club, a camera is an obvious starting point, but it does not have to be the whole design. A simple camera drawing with a short club phrase may feel more personal. Ask a few club members whether they prefer a camera-and-text concept or a text-only one before drawing the final layouts.
Tip
Write one sentence: “This T-shirt is for ___, and they might choose it because ___.” If the second part is hard to answer, make the concept more specific.
Need Inspiration for Your First T-Shirt?
Find ideas for different styles and occasions, then make one your own
Custom T-Shirt Design Ideas →
3. Sketch a Few Simple Designs
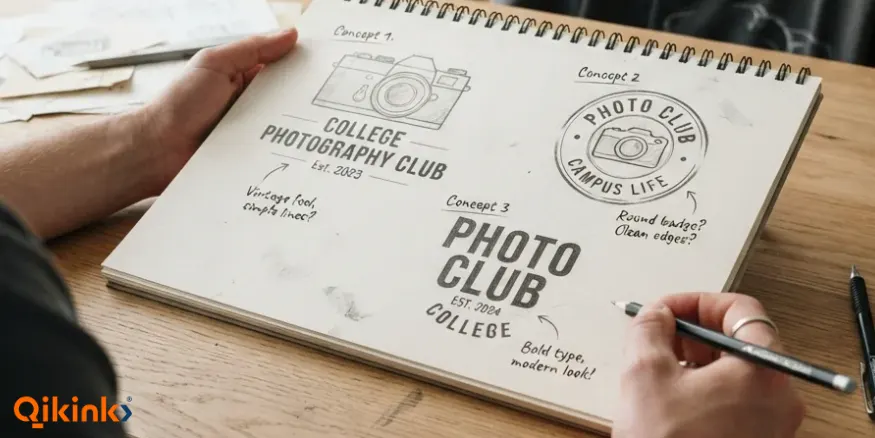
Draw two or three rough versions of your idea on paper. They do not need to look finished yet. You are choosing how the words and image will fit together.
The print area is the part of the shirt where artwork can be printed; its size depends on the product and placement. Draw a rectangle to represent that area, then sketch each version inside it.
- Words first: Put a short phrase in large lettering with little or no image.
- Picture first: Draw one symbol and keep any text small.
- Words and picture: Put one main illustration above or beside a short line of text.
For the club example, sketch a camera icon above a short phrase, a circular badge and a text-only version. Put the sketches side by side and look at them from arm’s length. Choose the one with the clearest message and keep another as a backup, rather than spending time perfecting every option.
4. Turn Your Sketch Into T-Shirt Artwork
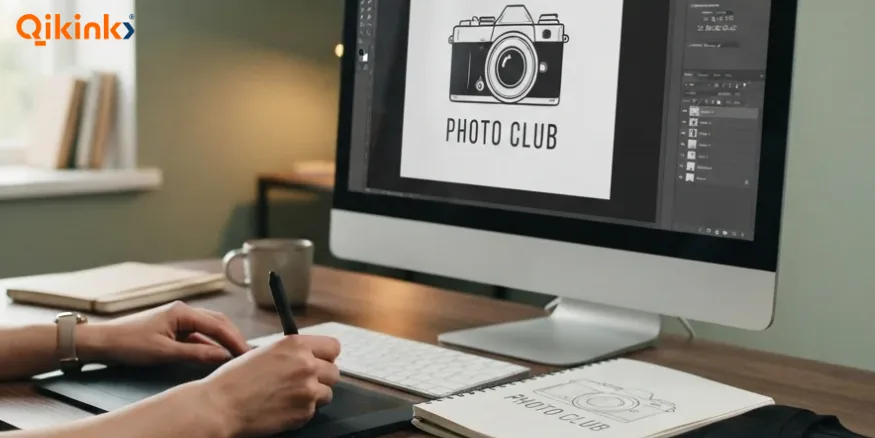
Once you have chosen a sketch, open a design editor and set the canvas to match your selected print area. For example, if a front print is 10 inches wide, the artwork needs to be 3,000 pixels wide at 300 pixels per inch. Set the height the same way, using the print area’s height.
You can then build the artwork using the words or image from your sketch. If you prefer drawing by hand, scan or photograph your drawing and clean it up digitally before printing. For a first design, follow this order:
- Add the main words or image first: Make them the first thing someone notices.
- Choose readable lettering: Test the words at the size they will appear on a shirt. For the club shirt, place a simple camera drawing above the club name in a clear, rounded font.
- Choose a simple visual style: Minimal type suits understated tees; a bold image can suit streetwear. A small line drawing works well when its details remain clear.
- Remove unnecessary details: Give the main element space instead of filling every corner.
- Save an editable master: Keep the project file so you can change size and colour without starting again.
You can design a shirt online with a browser-based editor or use drawing software if you prefer. Choose T-shirt design software that you find easy to work with, especially if this is your first design.
AI can help you try rough ideas or colour combinations, but you can also make the whole design yourself. If you use AI-generated artwork, check the spelling, small details and any resemblance to protected characters or logos. Read the tool’s commercial-use terms before selling.
For Tamil, Hindi and other Indian-language text, choose a font that supports the script and ask a fluent reader to check the spelling and vowel marks. Unsupported fonts may show missing characters even if the design looks correct at first glance.
Tip
Save different versions as separate files, such as club-shirt-v1 and club-shirt-v2. You can compare changes or go back to an earlier layout.
Make it your T-shirt
Pick a drawing. Mix your colours. Preview your listing.
Tap “Photo Club” to add text, or leave it blank.
Your Custom Illustrated T-Shirt
Demo listing and simulated sale. Not an actual order.
Choose a drawing
Shirt colour
Design + text colour
Type directly on the shirt. Try contrasting shirt and design colours.
5. Check How the Design Looks on a Mockup
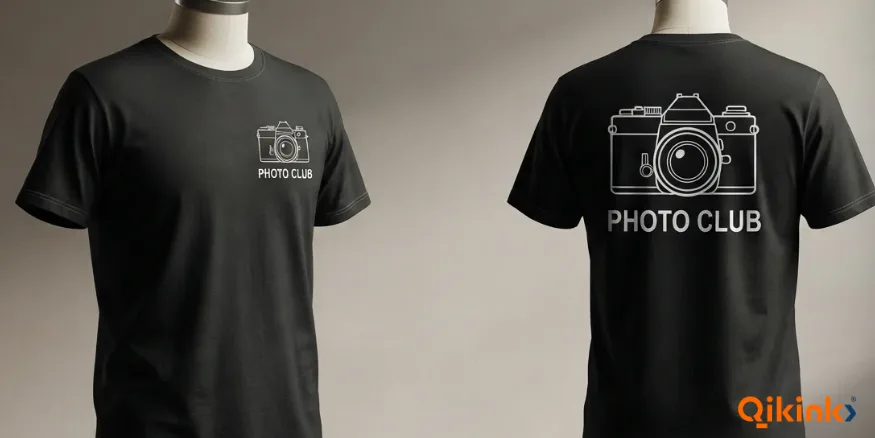
Once the artwork is ready, place it on a T-shirt mockup of the style and colour you selected. A mockup is a digital preview of your design on a garment. It helps you judge placement, size and overall appearance before ordering a printed shirt.
Check how the colours look against the fabric rather than judging them on a white computer screen. Pale yellow artwork, for example, can disappear on cream but stand out on navy. Leave clear space around the image and lettering. If everything looks equally bold, make one part the focus and reduce the rest.
For the club shirt, the camera badge could sit on the left chest. If the club wants a larger back print instead, adjust the spacing and lettering for that position rather than stretching the small graphic.
Tip
Reduce the mockup until it is about the size of a product photo on a phone. If the main message disappears, simplify it or make it larger.
6. Prepare Your Artwork for Printing
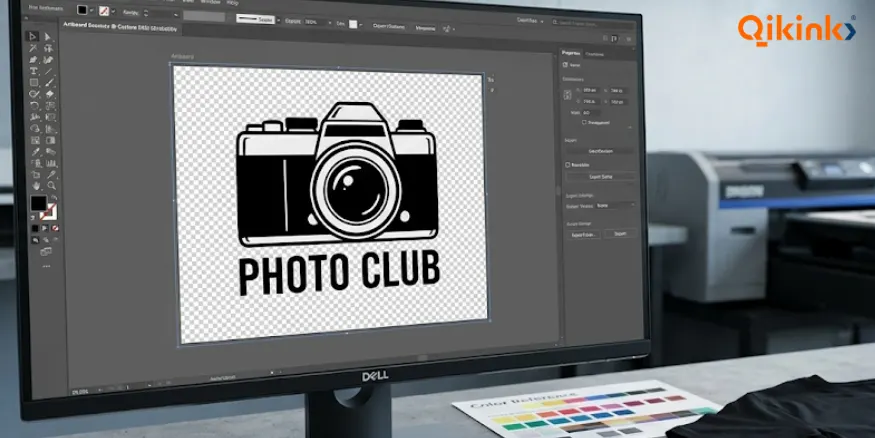
Once your design looks right on the mockup, prepare a file the printer can use. Knowing how to design prints for T-shirts means setting the artwork to the right physical size and checking the file format, background and printing method.
Check print size and resolution. Digital images are made of pixels. Resolution at the final print size is measured in pixels per inch (PPI), often called DPI in print instructions. The table shows how the same image changes when it is printed larger. Changing a DPI number alone cannot fix a blurry image.
Note:
Direct-to-garment (DTG) printing applies ink directly to fabric. Qikink’s print-quality instructions state a 150 DPI minimum for DTG and recommend 300 DPI for better output. The Qikink dashboard displays print resolution when you add a design to a product. Check it at the final print size and use the selected product’s current print area.
Design Export Checklist:
- Save the upload file as PNG or JPEG. A transparent PNG has no background colour around the artwork, so it does not add an unwanted rectangle on the shirt.
- Remove empty transparent margins and unwanted backgrounds; keep an editable original project separately.
- Confirm the actual width and height of the design, not just the canvas dimensions.
- Keep the uploaded file within the 25 MB limit.
- Expect slight differences between screen colours and the finished print.
Tip
RGB and CMYK are two ways a design file stores colour information. Qikink’s print-quality guidance accepts both and says it prefers CMYK for closer colour matching. Follow the current instructions for the chosen product and printing method.
Check the Printing Method:
The printing method affects how fine details and colours appear on fabric. For DTG printing, keep these limits in mind:
- Very thin lines and small text may not print clearly.
- Prints on coloured shirts use a white base layer, so the result can differ between light and dark fabrics.
- Metallic colours cannot be printed with DTG, and neon or fluorescent shades may not match the screen.
Tip
Qikink also advises avoiding gradients, fluorescent colours and smoke effects when preparing artwork for DTG. If your artwork relies on a special effect, check the selected print method and order a sample before selling.
7. Check the Design and Order a Sample
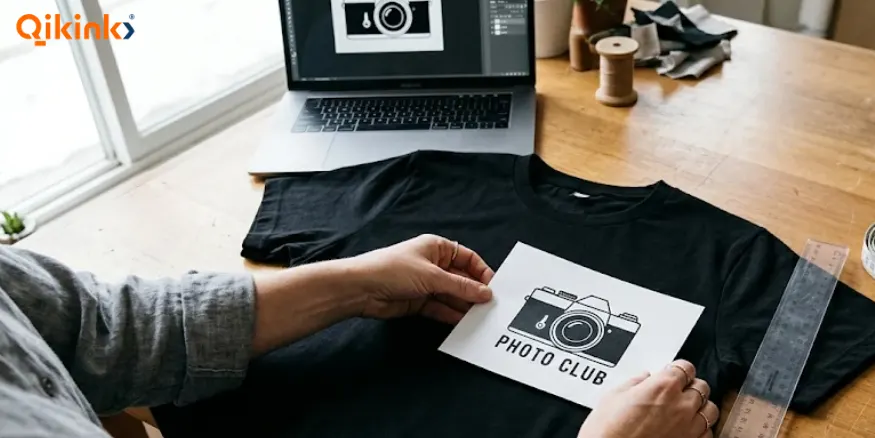
To check the size before ordering, print the artwork on paper at its actual width and height. You can also cut out a paper rectangle of the same dimensions and hold it against a T-shirt. This makes it easier to spot a print that looks too large, too small or too close to the edge. Then check the mockup on the garment colours you plan to offer.
Ask two or three people who match the intended audience to tell you:
- Whether they can read the words at a normal distance
- Whether they would wear this T-shirt and what they would change
- What they notice first
Use their answers to improve the lettering, size or placement before ordering a sample.
Note:
Qikink lets you place a sample order before fulfilling customer orders. Check the shirt under ordinary light for line clarity, placement, colour and spelling. Check how the print looks when someone wears the shirt. A mockup cannot show every detail of the final print.
Before uploading, check that you own the artwork or have permission to use every protected element. Film characters, cricket-team logos and another artist’s finished designs may need licences. IP India’s trademark basics cover logos and marks, while its copyright basics cover creative work.
8. Prepare the T-Shirt for Sale
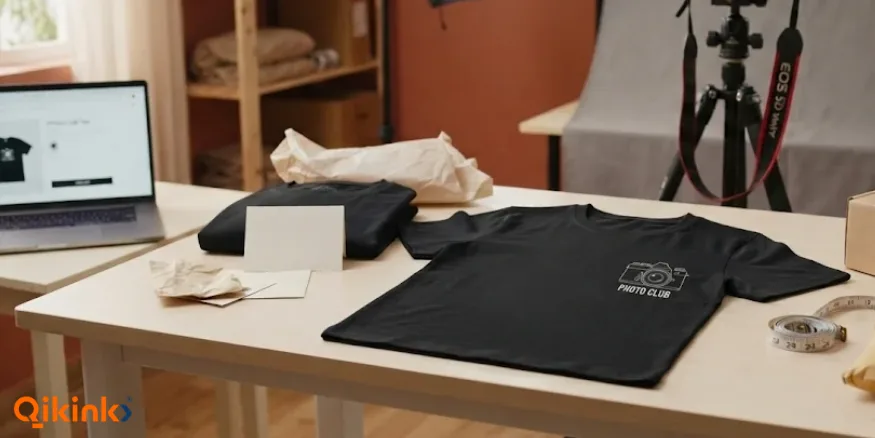
Before you list the T-shirt for sale, work out your costs and make sure the product page shows exactly what buyers will receive.
Work out the total cost: Add the price of the blank shirt, printing, delivery, payment or marketplace fees and any other charges that apply. A second print position or larger printed area may change the cost. Compare the total with the selling price you have in mind.
What Remains from a Printed T-Shirt Sale?
For example, a printed T-shirt sells for ₹699, with a blank shirt and printing cost of ₹350, and combined shipping and payment charges of ₹99.
The ₹250 is the amount left before advertising, returns, taxes and other business expenses. Use your current product and selling costs when setting your own price.
Tip
Use Qikink’s clothing business profit margin calculator to estimate product and delivery costs at different selling prices. Include any additional payment fees, advertising costs, returns and other expenses not already counted before deciding your final margin.
Create a Clear Product Listing
- Use mockups that show the design on the actual shirt colour and fit.
- Include a clear product name, description, fabric details, fit and size chart so buyers know what they are ordering.
- Select the correct print placement, garment colour and size options before publishing the product.
- Proofread the listing, price and size information, then publish it on your sales channel.
Planning to Launch your Own Brand?
Learn how to choose products, set up your store and launch a clothing brand
Start Your Clothing Brand →
How Does Print on Demand Work for Your T-Shirt?
With print on demand, a T-shirt is printed when someone places an order instead of being produced in a large batch beforehand. This lets you offer your design without buying a stack of preprinted shirts that may not sell.
For the photography club, you could offer a small chest print or a larger back design, using correctly sized artwork and a mockup for each version. If you later improve the lettering or layout, you can update the artwork for future orders. Shirts already printed will not change.
Tip
Qikink handles printing and fulfilment for the custom T-shirt orders you receive, while you remain responsible for the artwork, product details and selling decisions.
Common T-Shirt Design Mistakes to Avoid
- Adding too much: A crowded graphic makes the main idea hard to notice. Remove artwork that does not support the message.
- Starting with a tiny image: Enlarging a low-resolution picture cannot create missing detail. Build or export the artwork at its intended size.
- Ignoring the fabric colour: A colour combination that works on white may disappear on a darker or similar-coloured shirt. Check a garment mockup.
- Using someone else’s design: A copied logo, illustration or character may be protected. Use original artwork or properly licensed assets.
- Ignoring printing limits: Very thin lines and tiny text may print unclearly with DTG, while gradients and neon colours need extra care. Check the printing method’s limitations and inspect a sample.
- Trusting only the mockup: A screen cannot confirm the actual print. Check a sample when you are preparing designs for customers.
- Pricing from the blank shirt alone: Printing, delivery and selling fees can change what you earn. Include the relevant costs before listing.
Frequently Asked Questions (FAQs)
1. How Can a Beginner Create a T-shirt Design from Scratch?
2. Can I Create T-shirt Designs Online for Free?
3. Can AI Make T-shirt Designs for Me?
4. What Size Should a T-shirt Design be for Printing?
5. How Do You Design Prints for T-shirt Printing?
6. Is 150 DPI Enough for T-shirt Printing?
7. How Do I Know if My T-shirt Design Will Sell?
8. Can I Sell Original T-shirt Designs in India?
Final Thoughts
A T-shirt design starts with an idea that suits the person who will wear it. Work from a rough sketch to finished artwork, check how it looks on the shirt and prepare the file for printing.
Once the sample looks right and your price and product listing are ready, you can design and sell T-shirts online with Qikink.
Sign up & Start Today! →Read More
- Best Popular T-Shirt Colours: Explore Trending Shades to Boost Sales
- What Is A Logo In A Print-On-Demand Business: Definition Explained
- Gen Z Fashion Trends To Try: Best Ideas to Stay Ahead in the Game
- T-Shirt Size Chart Guide In India: Ideal Guide For Men, Women, and Kids
Share the Article


